The most reliable way to create animated videos with AI is to plan a short sequence of simple shots, assign each reference asset one job, control one variable per iteration, and validate product accuracy before publishing any ecommerce asset.
AI video does not remove the need for creative direction. It removes the need to draw every frame, which makes the quality of your planning more important than the quantity of your prompts.
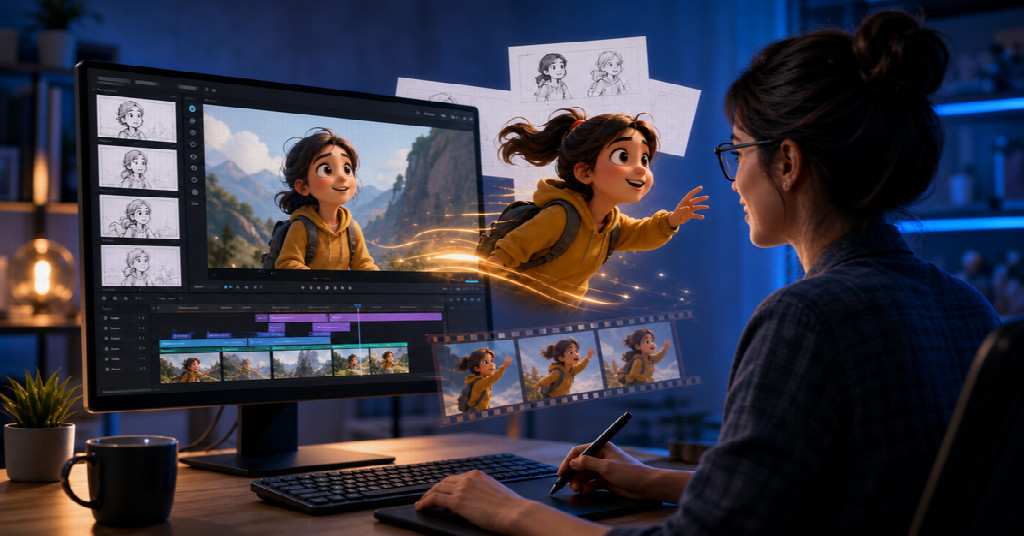
Creating an animated video used to require drawing, character design, storyboarding, motion planning, and complex post-production. Even a short scene with one moving character could take days to complete. Today, creators can create animated videos with AI while keeping the process focused on ideas, visual direction, and clear communication rather than frame-by-frame drawing.
AI video tools have changed that process. Creators can now turn text, sketches, illustrations, and static designs into animated scenes without drawing every frame or mastering advanced animation software. With clear references and well-structured instructions, it is possible to create original videos much faster.
For creators who want to test how text prompts, images, and motion instructions work together, Seedance 3 AI Video can be used to generate several versions of the same concept and compare the results.
The quality of an AI animation depends less on artistic skill and more on how clearly the project is planned. The following workflow explains how to create original animated videos with better consistency and creative control.
AI can generate movement quickly, but it does not automatically understand the story a creator has in mind. Without a clear plan, the result may include:
The solution is not simply adding more adjectives to a prompt. A better approach is to define the subject, action, camera, environment, and timing before generation begins.
Start by deciding what the animation needs to achieve.
A short social media video may need a strong opening action within the first few seconds. A product video may need to show the shape and function of an item clearly. An educational animation may need to explain a process in a simple visual sequence.
Ask three questions:
The answers determine the duration, aspect ratio, pacing, and level of visual detail.
You do not need dozens of assets. A small, organized reference set is usually more effective.
Useful references may include:
Each asset should have one clear responsibility. For example, the character image should define the person, while the background image should define the location. If one image tries to control identity, clothing, lighting, and camera movement at the same time, the model may receive conflicting instructions.
Instead of describing an entire video in one paragraph, divide it into simple shots.
A useful structure is:
For each shot, describe:
This makes the animation easier to evaluate and revise.
General phrases such as “make it dynamic” or “use a cinematic style” are open to interpretation.
More useful instructions describe observable movement:
If a motion reference is provided, explain what should be copied and what should not. For example:
Use the character from Reference Image 1. Follow the walking rhythm from Motion Video 1, but do not copy its background, clothing, or lighting.
This separation helps the model understand the role of each reference.
The first generation should be treated as a test, not a final version.
Create several variations while keeping most of the instructions unchanged. Then compare:
If the character changes, adjust the identity reference. If the camera behaves incorrectly, simplify the camera instruction. If the product is distorted, use fewer product references and describe the important visual details more clearly.
Changing one variable at a time makes the improvement process easier to understand.
For an online store, an animation should answer a practical customer question rather than exist only as decoration. A short product sequence can show how an item opens, adjusts, connects, fits into a room, or changes during use. A service business can animate an otherwise invisible process, such as order routing, data synchronization, or delivery tracking. These focused scenes help viewers understand a benefit before they encounter a long block of product copy.
Begin with one product claim and translate it into an observable action. Instead of asking for a vague “premium product animation,” identify the item, the user action, the result, and the camera behavior. For example, a desk lamp video might begin with a dim workspace, show the lamp switching on, move closer to the controls, and end on the illuminated desk. That sequence communicates function, atmosphere, and outcome without trying to explain every feature at once.
The same core animation can support several placements when it is planned carefully. A vertical cut may introduce the product on social media, a wider version can sit on a landing page, and a quieter loop can demonstrate a feature near a product description. Design the central action so it remains readable in every crop. Keep critical details away from the outer edges, avoid tiny interface text, and leave enough visual space for platform-specific captions added later.
A reusable prompt is easier to improve when it separates details that must remain consistent from details that may change. Start with a stable block that defines the character or product, the visual style, the environment, and any features that must not be altered. Then add a variable block for the action, camera movement, shot duration, and transition.
For example, a stable product block might specify the exact shape, material, color, control layout, and proportions of a lamp. The variable block could request a slow push-in, a side tracking shot, or a close-up of the light control. This structure allows creators to test motion ideas without accidentally redesigning the product in every generation.
Negative instructions should also be concrete. Rather than saying “avoid mistakes,” identify the likely failure: do not add buttons, do not change the logo area, do not reverse the character’s direction, and do not place unreadable text in the scene. Keep the list short enough that the main action remains clear. If a new test produces a problem, add only the instruction needed to address that problem and keep the rest of the prompt stable.
Once a promising version is selected, review it as a finished communication asset. Watch once for the story, again for visual continuity, and a third time with the sound off. This makes it easier to catch brief product distortions, sudden lighting changes, unwanted text, or a final frame that does not clearly communicate the result.
Export according to the destination rather than using one file everywhere. Check aspect ratio, resolution, duration, file size, caption space, and whether the opening frame still makes sense when autoplay is muted. For product pages, clarity usually matters more than aggressive camera motion. For social clips, the first visible action should arrive quickly. Preserve the same product details, colors, and message across versions so the campaign feels consistent even when formats differ.
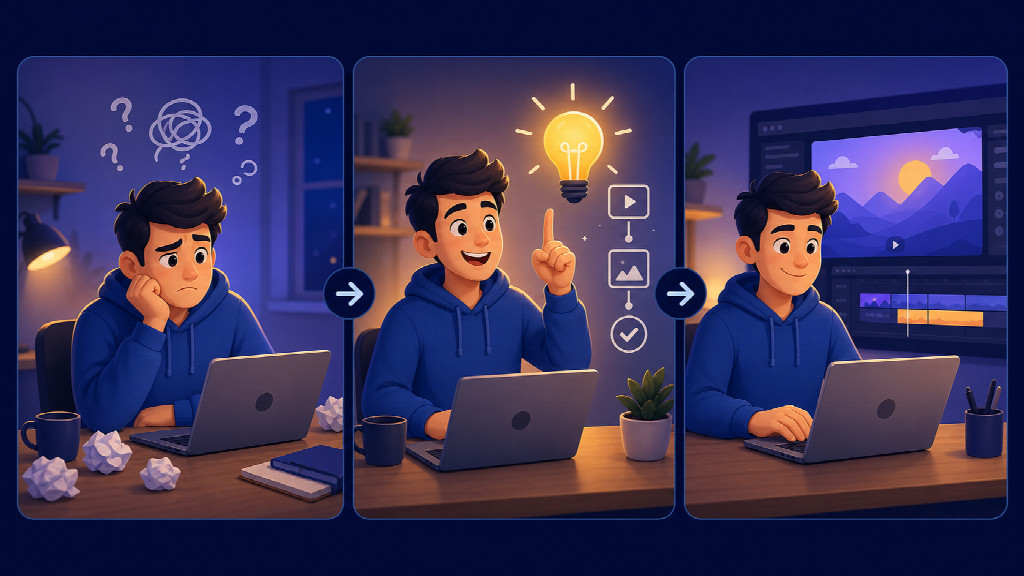
A creator wants to explain a new productivity feature in a 20-second animation.
The first shot shows a character struggling with several tasks. The second shot introduces a simple visual solution. The third shot shows the character completing the work with less effort.
A consistent character reference keeps the person recognizable, while a simple background prevents unnecessary visual changes. Short scenes and clear actions make the message easier to understand on a mobile screen.
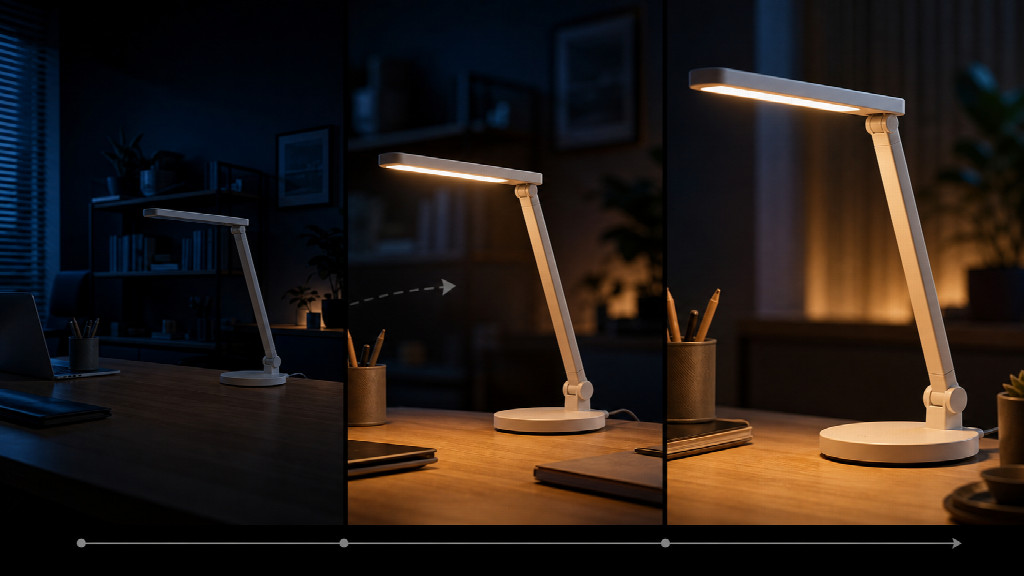
A small brand wants to introduce a new desk lamp.
The video begins with the lamp on a desk in a dark room. The light turns on, the camera moves closer to the product, and the final shot shows the lamp illuminating a workspace.
The product reference should control the lamp’s shape, color, materials, and controls. The prompt should instruct the model not to add extra buttons, change the proportions, or replace the product with a different design.
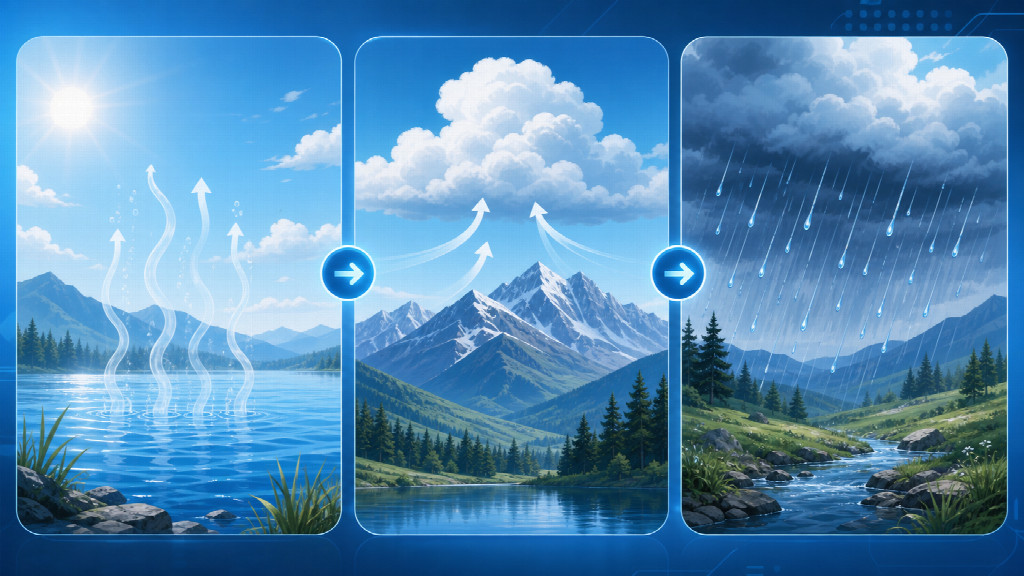
An educational creator wants to explain how rain forms.
The first shot shows water evaporating from a lake. The second shot moves upward to show clouds forming. The final shot shows rain returning to the ground.
The animation becomes easier to follow when each shot represents one stage of the process. Consistent colors, simple transitions, and a stable visual style help viewers understand the sequence without relying on long explanations.
Different character designs, clothing styles, or color palettes can confuse the generation process.
Words such as “beautiful,” “epic,” and “cinematic” do not explain what should move or when it should move.
A character changing location, clothing, pose, and camera direction at the same time increases the chance of visual errors.
If everything changes between generations, it becomes impossible to know which adjustment improved the result.
A video designed for a product page may not work well as a vertical short. Decide the format before creating the scenes.
Before publishing, check that:
Creating original animated videos with AI does not require traditional drawing skills, but it does require structured thinking.
The strongest results usually come from a simple process:
When the creative plan is clear, AI becomes more than a shortcut. It becomes a practical production tool for turning ideas into original animated videos.