Reading Time: 7 minutes
WordPress is the most popular content management system (CMS) in the world. It powers over 43% of all websites on the internet.
One of the main reasons for its widespread popularity is that WordPress is packed with features, has seemingly limitless plugins, and is easy to install. This makes it simple for anyone to create a website.
But if you’re new to WordPress, the installation process may seem daunting at first. The good news is that, in most cases, it’s an easy process that takes only five minutes.
In this beginner’s guide, we’ll walk you through how to install WordPress step by step. We’ll cover the different installation methods, including using auto-installers and the manual process.
By the end, you’ll be ready to start building your WordPress website.
Table of contents
In technical terms, WordPress is a free and open-source content management system (CMS) written in PHP and paired with a MySQL or MariaDB database.
In simple terms, it’s software that allows you to create and manage WordPress websites without needing to know how to code. To run WordPress, your web hosting server needs to meet these minimum requirements at the time of writing:
Most reputable web hosting providers will meet these requirements by default, but it’s always a good idea to double-check with your hosting provider.
This way, you can ensure compatibility before proceeding with the WordPress installation.
The web hosting provider plays an important role in the performance, security, and success of your WordPress site. When selecting a hosting provider, consider the following factors:
Some popular web hosting providers known for their WordPress compatibility and performance include:
Many of these hosting providers offer optimized WordPress hosting plans with automatic installation, pre-configured settings, and features to enhance performance and security.
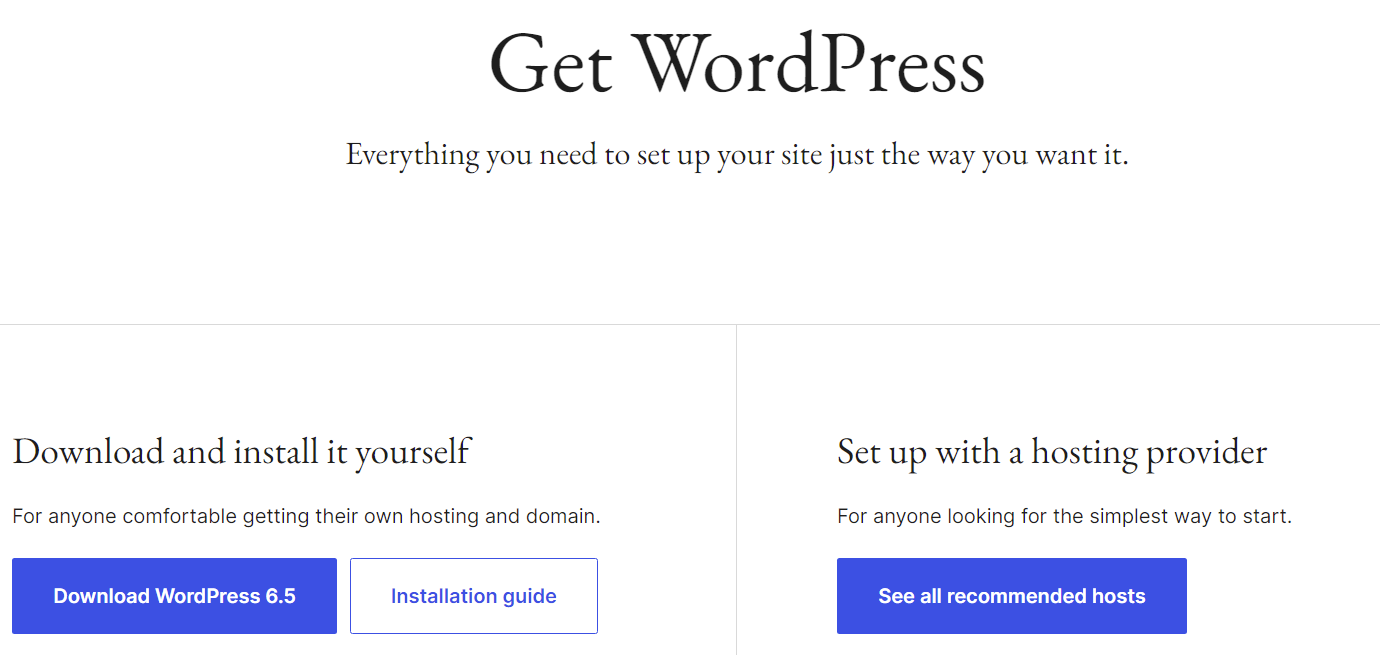
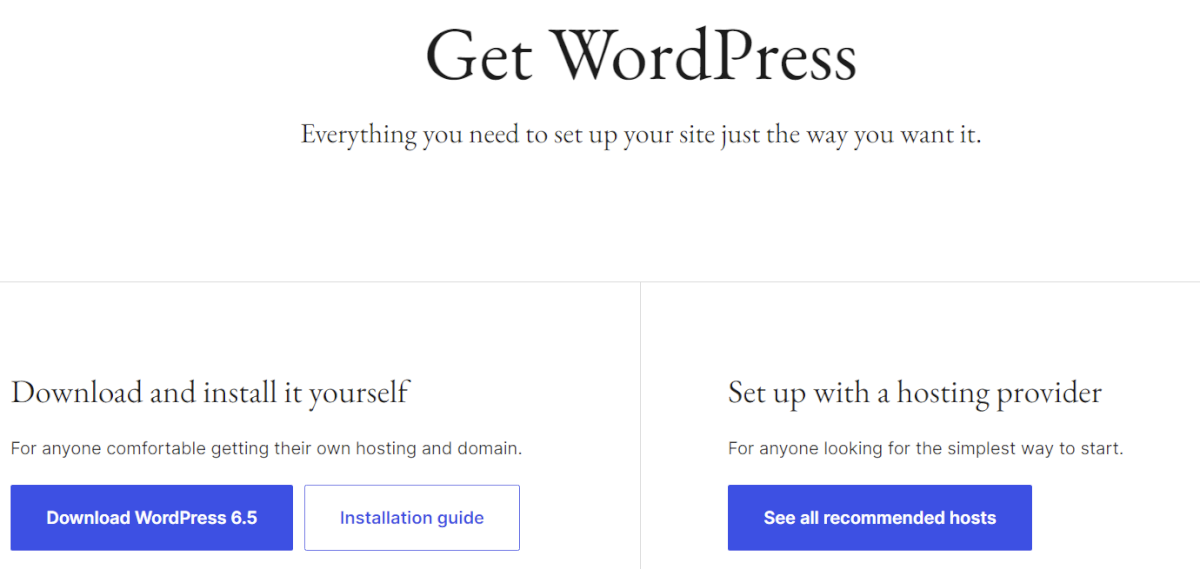
If your hosting provider doesn’t offer automatic WordPress installation, or if you want to install WordPress manually, first download the latest version from the official website. To download:
Before you begin the manual installation process, there are a few prerequisites to take care of:
If you’re installing WordPress locally, set up a local development environment. This typically involves installing a web server (like Apache or Nginx), PHP, and MySQL on your computer.
Tools like Local by Flywheel, XAMPP, and MAMP can simplify the process with an all-in-one local development solution.
Now that you have everything prepared, it’s time to install WordPress.
Many web hosting providers offer a one-click WordPress installation process through their control panel. This makes it easy to set up a new WordPress site without the need for technical expertise.
The exact steps may differ between hosting providers, but the process is usually similar. If you’re doing an automatic install, you can usually skip the “Downloading WordPress” and “Preparing to install WordPress” steps and proceed directly to the auto-installation.
If you’re unsure about the specific steps for your hosting provider’s auto-installer, consult their documentation or reach out to their support team for guidance.
If your hosting provider doesn’t offer an auto-installer, or if you prefer a manual installation, follow these steps:
1. Download and extract WordPress
Visit the official WordPress website at wordpress.org/download/ and download the latest version of WordPress. Extract the downloaded ZIP file.
If you have shell access to your web server and are comfortable using console-based tools, you can download WordPress directly to your server. Use wget or a similar tool, and then extract the package using tar.
2. Create a MySQL database and user
WordPress requires a MySQL database to store its content and settings. You’ll need to manually create the database if your hosting provider doesn’t automatically create one for you.
Log in to your provider’s control panel and navigate to the “MySQL Databases” section. Create a new database for your WordPress installation and assign a user to it with full permissions.
Record the database name, username, and password, as you’ll need this information later. Use phpMyAdmin to create the database and user under the “Databases” tab.
Enter a name for your database then click “Create.” Click the “Users” tab and enter a username and password.
Be sure to give the user full privileges to the newly created database.
3. Set up wp-config.php
In the extracted WordPress folder, locate the “wp-config-sample.php” file and rename it to “wp-config.php.” Open the file in a text editor and enter your database information under the “MySQL settings” section.
If you’re unsure of your database host, it’s usually “localhost.” Enter unique values for the authentication keys and salts to improve the security, then save the “wp-config.php” file.
4. Upload WordPress files
Use an FTP client (like FileZilla) or your hosting provider’s file manager to upload the contents of the extracted WordPress folder to your web server. If you want to install WordPress in the root directory of your domain, upload the files to the public_html or www directory.
To install WordPress in a subdirectory (example.com/blog), create a new folder within the public_html or www directory and upload the files there.
5. Run the installation script
Open a web browser and head to the domain or subdirectory where you uploaded the WordPress files.
The WordPress installation script will start automatically. Choose your preferred language and click “Continue.”
On the next screen, enter your site’s title, admin username, password, and email address. You can also use development or staging environments to keep search engines from indexing pages on your site.
Click “Install WordPress” to proceed.
6. Complete the installation
If the installation is successful, you’ll see a success message with a link to log in to your new WordPress site. Click the link and enter the admin username and password you chose during the installation process.
Once in, you can customize your site, install themes and WordPress plugins, and create content. If you have any issues during manual installation, refer to the official WordPress documentation or get support.
Common problems include incorrect database information in the wp-config.php file, missing PHP extensions, or improperly configured web server settings.
Once your site is up and running, keep it updated with the latest version of WordPress core, themes, and plugins for optimal security and performance. You can manage updates directly from your WordPress dashboard.
Congratulations, you’ve successfully installed WordPress. Now that your site is up and running, there are a few essential tasks you should take care of:
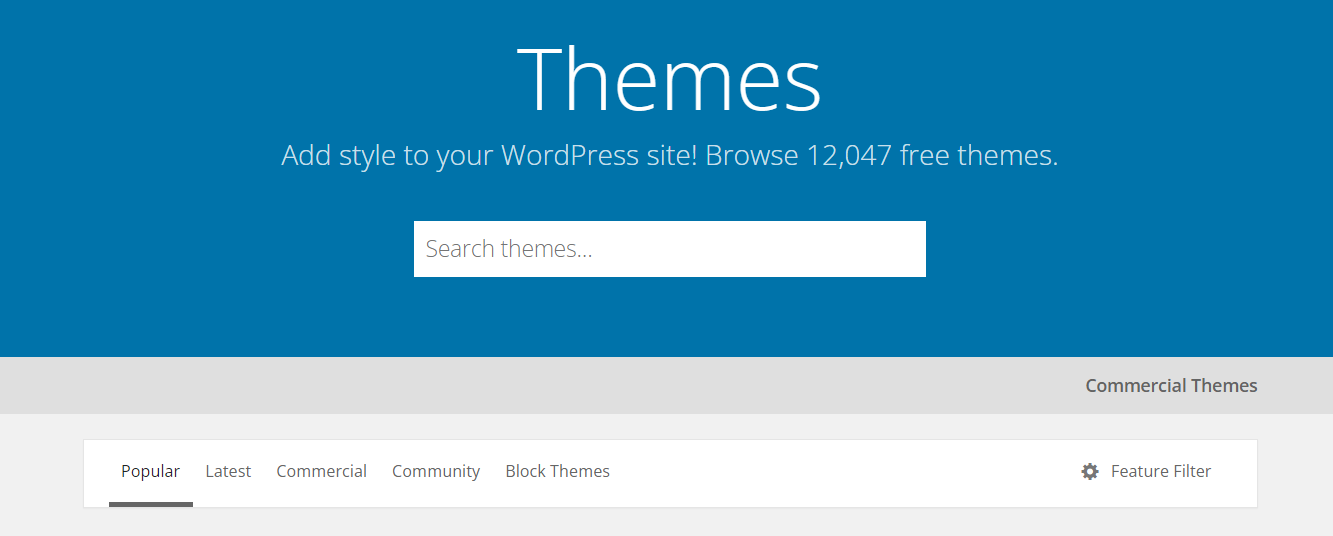
1. Choose a theme
WordPress comes with a default theme, but you can easily change it to one that better suits your needs. Browse the WordPress theme directory and choose from free and premium options.
Or you can use marketplaces like ThemeForest to find a design you like.
2. Install essential plugins
Plugins extend the functionality of your WordPress site.
Consider installing essential plugins for security, performance optimization, SEO, and backup. Some popular options include Wordfence Security, WP Rocket, Yoast SEO, and UpdraftPlus.
3. Set up your pages
Create your website pages. Set up the basics like your homepage, about page, contact page, and any other relevant pages for your business or project.
4. Implement security measures
Secure your site by keeping software up to date, using strong passwords, and following security best practices. You can enable two-factor authentication and install a security plugin.
5. Integrate marketing tools
Grow and engage your audience with tools like Omnisend for email marketing, SMS marketing, and automation. These can help you build subscriber lists, send targeted campaigns, and nurture leads into customers.
While WordPress is user-friendly and easy to install, you may encounter some issues during the installation process. If you run into any problems, here are some resources that can help:
Remember, if you’re not comfortable troubleshooting technical issues yourself, it’s always a good idea to seek help from experienced WordPress users or professionals.
Installing WordPress is a straightforward process that only takes a few minutes, even for beginners. Using this guide, you’ll be able to create a professional and functional website in next to no time.
Remember to choose a reliable web hosting provider and keep your WordPress software and automation plugins up to date. Follow security best practices to protect your site from potential threats.
As you build and grow your website, consider integrating marketing tools like Omnisend. With it, you can engage your audience, drive traffic, and increase conversions.
The post How to install WordPress step by step: A beginner’s guide appeared first on Omnisend Blog.