Explore how to make embroidery designs with Print on Demand and add an elegant touch to any product. With POD, you can easily make your own embroidery patterns and apply them to any product.
No more complex stitching or investing in a costly embroidery machine – learn how to achieve professional results quickly and effortlessly with this embroidery design guide.
This post may contain affiliate links, which means we may earn a commission if you purchase through those links. This comes at no additional cost to you.
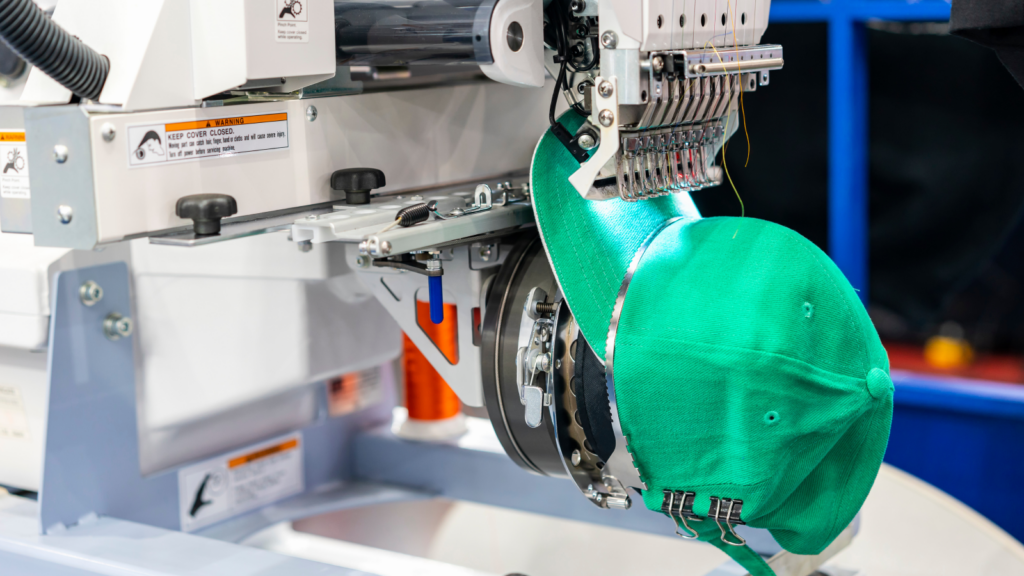
Embroidery involves stitching designs onto fabric, requiring precise stitch calculations for successful pattern transfer. Typically, custom embroidery patterns are drawn using tracing paper and pencil.
Printify’s Print on Demand revolutionizes embroidery – no need to manually trace your own patterns or deal with a steep learning curve.
Simply upload custom visuals or design directly on the Product Creator, and our Print Providers will handle the rest with advanced software and equipment to achieve professional results.
Tip
Learn how to start a print-on-demand business in a few simple steps with our tutorial.
To succeed with embroidery, it’s important to know who your customers are and what makes your product stand out.
A niche is a specific market segment that aligns with your product offering. Think about your unique selling points – what value do you bring that competitors don’t?
Identify:
Research relevant keywords that your potential customers are searching for. Google Trends, SEO keyword planners like Semrush, and marketplaces can help identify popular terms and product trends.
Combine this by looking at your competitors’ bestsellers and weaknesses to see where you can stand out. These insights will help you connect with your ideal buyers and make your own embroidery designs that customers love.
Tip
Embroidery works incredibly well for sports team apparel, company uniforms, and hobby-themed gifts, but don’t let that restrict your offerings. Explore how to create your own embroidery design and apply your logo to various products.
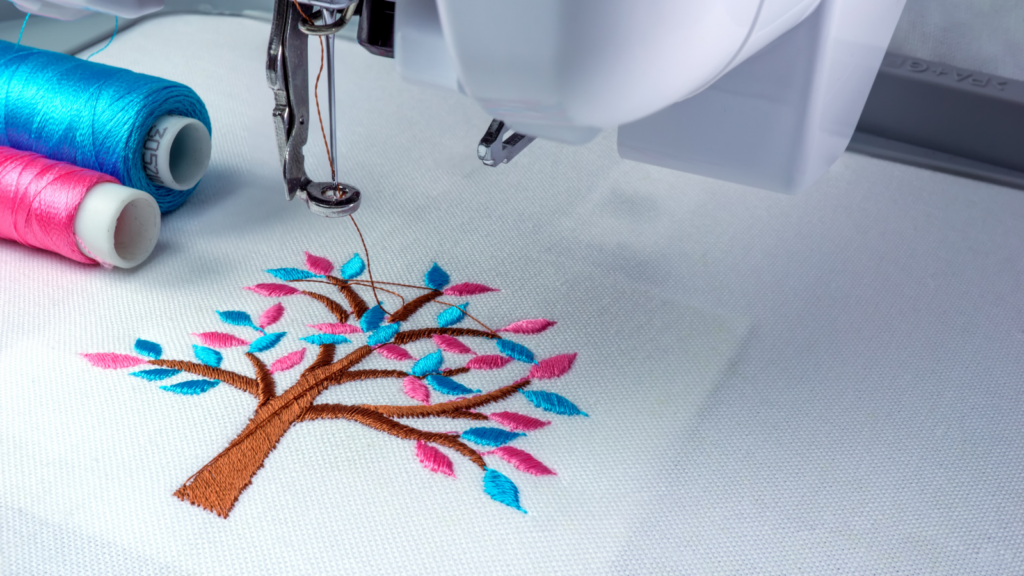
Making embroidery designs isn’t just about looking good on paper – it’s about making sure visuals translate well when stitched onto fabric. Here’s how to make that happen:
Tip
Learn how to design embroidery patterns for machine stitching by checking out our embroidery guide.
Nowadays, there’s no need to have drawing skills or create your own hand embroidery patterns. Leverage Printify’s machine embroidery to go from paper to printed product in a few easy steps, without investing in expensive software and printers.
The first step is learning how to make embroidery designs on the computer. Follow these guidelines to create your own embroidery pattern:
Note
Fill stitches work best for larger design areas. Some advanced stitch types or hand embroidery techniques such as french knots aren’t available with machine embroidery.
Once your embroidery design is ready, select a product from our Catalog and click Start designing.
Using the Product Creator, import your own visual or create embroidery designs from scratch using our free graphics, fonts, and image editing tools.
Before sending it off for printing, generate high-quality mockups to see exactly how your design will look on the product.
Once you’re happy with the result, order a sample or list your product for sale on your eCommerce website.
Tip
Don’t worry about digitization – we’ll convert your image into a stitch file suitable for embroidery software, making it print-ready.
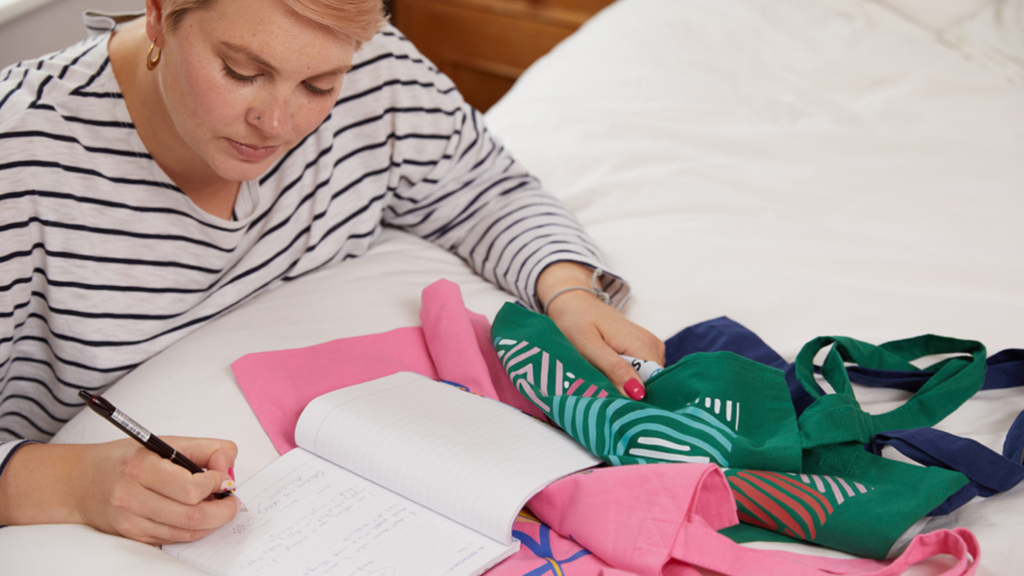
There are a few important steps to take to keep your products consistent and deliver value to customers.
First, double-check your designs and make sure the dimensions and resolutions follow the provided guidelines and templates. This is crucial for digitizing images so the embroidery machine can deliver high-quality, accurate results.
It’s also a good idea to order samples of new products to see how your designs look on different types of fabric. Don’t forget to review customer feedback to improve future designs.
Need inspiration? Here are some of the best products for embroidery:
The thick fabric makes it easy to add bold designs or logos that last through frequent wash and wear.
Whether you’re adding a logo or name, hats are perfect for showing off your style or promoting a brand.
Both practical and comfortable, sweatshirts look more elevated with embroidered designs.
Perfect for adding a subtle detail, whether for fashion or a promotional item.
A classic option for embroidery, polos are fantastic for promoting your team or company name.
Learn more
Check out our comparison of screen printing vs embroidery.
Start by designing or making your own pattern using simple elements like clean shapes and bold fonts.
Avoid gradients and keep it simple with limited shades to make sure the artwork translates well when adjusted for thread colors.
Once your design is ready, use embroidery software to convert it into a format suitable for embroidery machines, or use Printify for automatic digitization ready for stitching.
There are various programs to learn how to make your own embroidery pattern for machine embroidery.
This includes Adobe Illustrator and CorelDRAW for vector designs, and specialized embroidery software like Wilcom or Brother PE-Design for digitization.
These programs help you prepare your image, define design elements, and adjust the placement of underlay stitches for optimal results.
The easiest way to convert an image is using our Product Creator. Simply upload your custom design, and we’ll digitize it for free.
Alternatively, use other software to create your own embroidery patterns. Programs like Wilcom, Embrilliance, or Brother PE-Design will convert artwork into an embroidery file format (such as DST or PES) with stitching instructions for your embroidery machine.
Turning your logo into an embroidery pattern involves digitizing it using embroidery software. Begin by preparing the original design and simplifying any intricate details.
The software will convert the logo into an embroidery file, making design elements like lines and shapes suitable for sewing. It will also add underlay stitches to create a foundation for the finished stitching, giving your logo a crisp, professional look.
Embroidery is easier than ever thanks to Print on Demand. Whether you’re creating custom hoodies, hats, or tote bags, leverage Printify to master how to make your own embroidery designs.
From finding your niche to making stitch-ready files, our Product Creator streamlines the process for a professional result, every time. Ready to get started? Sign up for free and see how easy it is to create high-quality, embroidered products that your customers will love.
The post How to make embroidery designs and patterns with Print on Demand appeared first on Printify.