


Running an eCommerce store is more than just product listings, digital ads, and customer reviews. Behind every successful online business is a well-organized financial system, and that starts with having the right business bank account. Whether you’re just launching your store or looking to streamline your operations, opening a dedicated business account is one of the smartest moves you can make.
Many new eCommerce owners make the mistake of mixing personal and business finances, especially in the early stages. While it might seem convenient at first, it quickly leads to confusion during tax season, makes tracking expenses harder, and can even hurt your credibility with customers, vendors, or lenders. A business bank account helps you stay organized, builds professionalism, and keeps you ready for growth opportunities down the road.
Once your sales start picking up, you’ll need a reliable way to receive payments, pay vendors, and track your cash flow. Platforms like Shopify, Amazon, Stripe, and PayPal often require accurate banking details to link your store, making a business account essential. In this guide, we’ll walk you through every step of the process so you can set up your account with confidence and get your online business off on the right financial foot.
Once you open a business bank account, you’ll need a few specific details to link it to your eCommerce platforms. These include your bank’s routing number and your account number, both of which are essential for setting up direct deposits, vendor payments, and online transfers.
If you’re not sure where to find these numbers, one of the easiest places to look is on a physical check. The numbers are usually printed at the bottom, with the routing number on the left and the account number beside it. You can refer to your routing and account number on check to locate this information quickly and accurately. It’s important to double-check these numbers before entering them into any platform to avoid delays in payment processing.
Keep this information in a secure place, as you’ll use it frequently when setting up tools like payment gateways, bookkeeping software, and supplier accounts. It’s also helpful to keep a digital copy or document listing your bank’s name, routing number, account number, and contact info for quick reference.
Not all business bank accounts are created equal. Depending on the stage of your eCommerce business, you might start with just a business checking account. It is your go-to account for everyday transactions, including receiving customer payments and paying for shipping, inventory, or tools.
As your business grows, you might consider adding a business savings account to set aside money for taxes, emergencies, or large investments. Some business accounts also come with features like no monthly fees, free ACH transfers, mobile deposits, and integrations with accounting software.
Take a moment to compare account types and prioritize features that match your needs. If you plan to scale quickly or handle high transaction volumes, look for an account that supports unlimited transactions and offers responsive customer support.

There’s no one-size-fits-all bank for eCommerce sellers, so it’s important to choose one that fits how you operate. Traditional brick-and-mortar banks offer personal service and may come with physical checkbooks and teller support, which some business owners appreciate. However, they may also come with higher fees or limited digital tools.
Online-only banks have gained popularity among digital entrepreneurs for their convenience, lower fees, and tech-forward features. Many offer streamlined apps, 24/7 support, and fast approvals. They’re great if you run your business entirely online and don’t need in-person banking.
You might also consider credit unions or banks that specialize in small business services. Just be sure the institution is FDIC-insured and has a solid reputation for customer service.
Compare different providers based on what matters to you: mobile access, integrations with your eCommerce tools, customer support, and monthly maintenance fees.
To open your business bank account, you’ll need to provide a few essential documents. These help verify your business identity and ensure the bank can comply with federal regulations.
Start by gathering your Employer Identification Number (EIN) from the IRS. It is like a Social Security number for your business and is required for most types of business accounts. If you’re a sole proprietor, some banks may allow you to use your SSN instead, but check with the bank in advance.
You’ll also need your business registration or license, and if your business is an LLC or corporation, include your Articles of Organization or Incorporation. Bring a valid photo ID, like your driver’s license or passport, and a certificate for your Doing Business As (DBA) name if applicable.
Having everything ready will speed up the process, especially if you’re applying online.
Once you’ve chosen a bank and gathered your documents, you’re ready to open your account. You can usually do this in one of two ways: in person or online.
For in-person applications, visit your local branch and meet with a representative. They’ll review your documents, walk you through the options, and get your account set up on the spot. The approach is ideal if you value face-to-face support or have complex questions.
Online applications are faster and more convenient, especially for eCommerce owners. Most online banks allow you to upload your documents directly and set up your account within a few business days. Some accounts are even ready the same day.
Once your account is active, be sure to activate your debit card, order checks (if needed), and download the bank’s mobile app.

After your account is open, the next step is connecting it to the tools and platforms you use to run your store. It includes services like Shopify, Etsy, Amazon Seller Central, PayPal, Stripe, and bookkeeping tools like QuickBooks or Xero.
Each platform will ask for your account and routing numbers, so refer to your check or bank welcome materials to locate them. Input this information carefully; mistakes can delay payouts or even cause them to bounce.
Once linked, these platforms can deposit funds directly into your business account, giving you quicker access to your money and a clear record of your transactions. Most platforms also allow you to set up automatic deposits, so you can focus more on running your store and less on payment logistics.
Now that you have your business bank account up and running, make it a rule to use it for business purposes only. Mixing personal and business funds can create a tax nightmare and make your records harder to manage.
Pay for all business-related expenses from your business account, including inventory, subscriptions, shipping, advertising, and tools. Likewise, deposit all income from sales into this account, even if you plan to transfer some of it to your account later.
Using your account this way keeps your records clean, simplifies bookkeeping, and builds a more professional foundation for growth. If you ever apply for a loan, line of credit, or investor funding, having organized finances will work in your favor.
Once everything is connected and running, make it a habit to review your account regularly. Set aside time each week to log in, review transactions, and reconcile them with your sales data. Many banks offer mobile apps and alerts that help you stay on top of your balance, deposits, and withdrawals.
Also, consider setting up automatic transfers to a savings account for quarterly tax payments or emergency funds. It helps you stay prepared and avoids surprises later.
Using accounting software or hiring a bookkeeper can further streamline your financial management. The cleaner your records, the easier your life will be come tax time.
If you’re still wondering whether all this effort is worth it, the answer is yes. A business bank account isn’t just about compliance. It’s about clarity, control, and credibility.
It keeps your financial records organized, makes tax filing simpler, and builds trust with vendors, platforms, and customers. It also allows you to start building business credit, which can open doors to financing and better banking tools in the future.
As your eCommerce store grows, you’ll be glad you laid the right foundation from the start.
Setting up a business bank account might not be the flashiest part of running an eCommerce store, but it’s one of the most important. It gives you a clear financial picture, keeps you legally protected, and helps you run your business like a pro.
From finding your routing and account numbers to choosing the right bank and linking your platforms, each step is straightforward and manageable, even if you’re new to the process. And the sooner you do it, the more smoothly your business can operate.
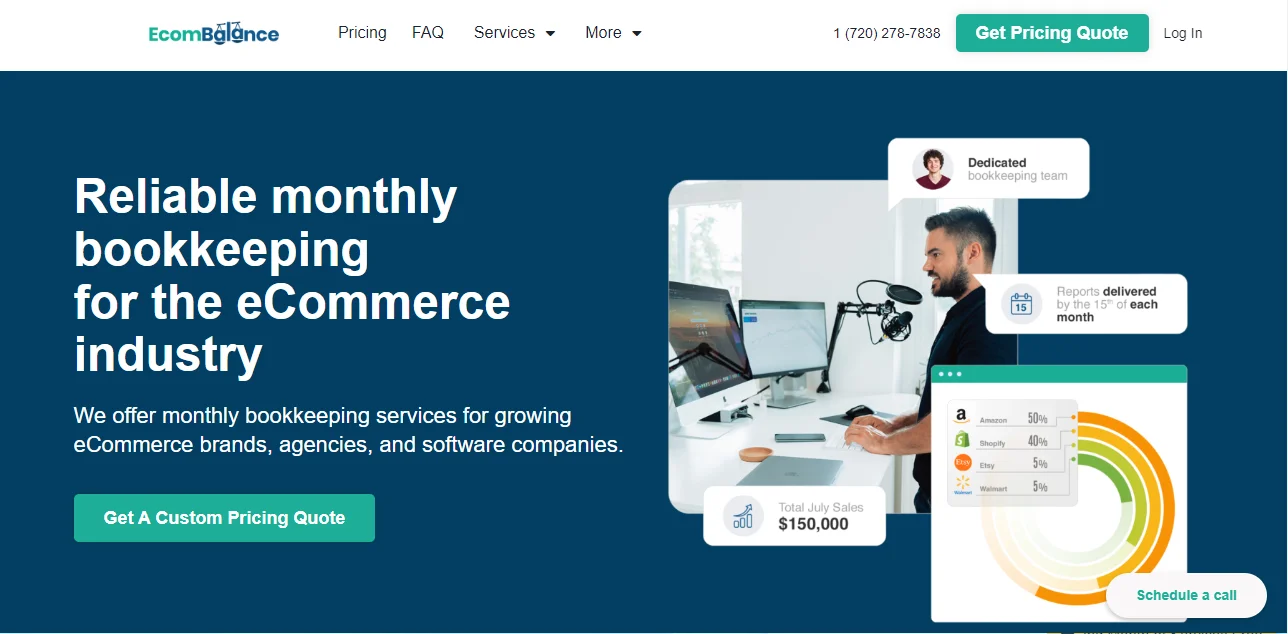
EcomBalance is a monthly bookkeeping service specialized for eCommerce companies selling on Amazon, Shopify, eBay, Etsy, WooCommerce, & other eCommerce channels.
We take monthly bookkeeping off your plate and deliver you your financial statements by the 15th or 20th of each month.
You’ll have your Profit and Loss Statement, Balance Sheet, and Cash Flow Statement ready for analysis each month so you and your business partners can make better business decisions.
Interested in learning more? Schedule a call with our CEO, Nathan Hirsch.
And here’s some free resources:

