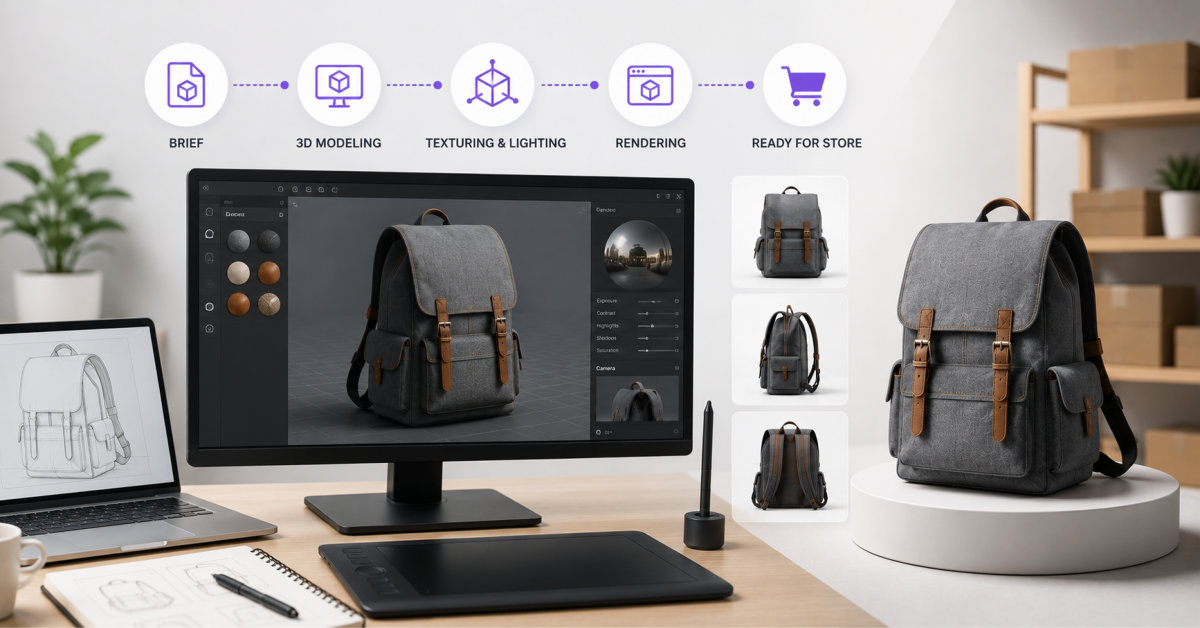
A 30‑day 3D product visualization workflow helps ecommerce teams design, review, and plan launches earlier by turning one product into a controlled pilot with clear deliverables, validation steps, and limits on what the visuals are allowed to promise.
A lightweight 3D workflow is most valuable when it speeds up decisions about one product launch, not when it tries to replace every photo in the catalog before anything has been tested.
Product photography usually happens after a product design has been approved, samples have arrived, and packaging is close to completion. Marketing teams, however, often need visual assets much earlier.
They may already be planning a landing page, retail presentation, crowdfunding campaign, seasonal promotion, or creator outreach programme while the physical product is still being revised.
A lightweight 3D product visualization workflow can help bridge this gap. It allows a small ecommerce team to explore presentation ideas, compare product variations, and prepare draft campaign materials before committing to a full photography or production process.
The goal is not to replace verified product photography or engineering models. It is to give the team a useful visual reference while important launch decisions are still being made.
At the end of four weeks, the team should have:
This is a pilot, not a complete catalog transformation.
Starting with one product makes it easier to measure whether 3D visualization actually improves the launch process before the workflow is expanded across more SKUs.
The first week should focus on where the visual asset will be used.
A model built for an internal packaging review has different requirements from one intended for a public product page. The team should choose one primary use case.
Possible goals include:
The team should also define what the model is not expected to prove.
An early visual model should not be treated as confirmation of:
This distinction protects the team from building marketing promises around an unfinished product.
Write a one-page visualization brief covering:
A clear brief prevents the project from becoming an open-ended design experiment.
The second week is about producing a useful starting model.
The team may begin with:
An AI-assisted platform such as Meshy AI can help turn text descriptions or visual references into an initial textured 3D model. Its role at this stage is to accelerate visual exploration, not to establish final product specifications.
Generate several versions and compare them according to the original brief.
Do not automatically select the most detailed result. A simpler model with stable proportions and fewer structural errors may be easier to refine and more useful for marketing planning.
| Review area | Question |
| Shape | Does the model communicate the intended product form? |
| Proportion | Do the major parts relate to each other correctly? |
| Completeness | Does the model remain coherent from all visible angles? |
| Editability | Can the team correct colors, materials, and geometry? |
| Brand fit | Does it match the store’s existing visual identity? |
| Content potential | Can it support several useful views or formats? |
The purpose of the scorecard is to reduce subjective debate. A version should be selected because it supports the launch brief, not simply because one team member finds it visually impressive.
Choose one model and record:
This record will become important when the model is shared with marketers, agencies, creators, or retail partners.
The third week should focus on reusable outputs rather than creating more models.
One well-prepared 3D asset can support several content formats.
Create a consistent set of angles:
These can help the marketing team plan the eventual photography list and identify which product features deserve emphasis.
If the product will have several options, create controlled visual variations.
Keep all other elements unchanged. If the angle, lighting, and background also change, customers may find it harder to compare the options.
Variations should be clearly labeled as concepts until final materials and colors have been confirmed.
Place the product in simple promotional settings that match the launch theme.
At this stage, the goal is direction-setting. The team is evaluating composition, messaging, and visual hierarchy rather than producing final advertising.
A short rotation can reveal the product’s full form and help internal stakeholders understand the design more clearly than a single image.
The model does not need advanced animation. Controlled camera movement or a basic turntable may be enough.
Prepare a compact content kit containing:
The team should store the assets with clear version names so that early drafts are not confused with approved launch materials.
The fourth week is the most important because it prevents a concept model from becoming an inaccurate product promise.
When a prototype or sample is available, compare it directly with the 3D asset.
Review:
The team should correct the model or clearly limit its use when the visual difference is significant.
Classify each asset as:
This status system prevents outdated models from continuing to circulate after the product changes.
A successful pilot should answer more than whether the team can generate a model.
| Business question | Evidence to collect |
| Did it speed up launch planning? | Time saved before samples arrived |
| Did it improve internal feedback? | Fewer unclear design discussions |
| Did it create reusable content? | Number of practical outputs |
| Was correction manageable? | Time spent fixing the initial model |
| Did it remain accurate? | Differences found during sample validation |
| Can the process scale? | Effort required for the next SKU |
The team does not need to claim that 3D automatically improves conversion. That requires controlled testing.
The first goal is to determine whether it improves the internal content and launch workflow.
It is particularly useful for products where shape, configuration, or appearance is difficult to explain through text alone.
Examples include:
It may provide less value for products whose appearance is simple or where verified photography is already inexpensive and easy to produce.
Ecommerce teams should avoid:
A disciplined workflow matters more than the novelty of the technology.
Not completely. It can support early planning and selected digital experiences, but verified photography remains important for showing real materials, packaging, scale, and product condition.
Potentially, after it has been checked for accuracy, file size, format compatibility, and mobile performance. The store should also make sure the model reflects the product customers will actually receive.
No. Start with products whose shape, configuration, or customization options are difficult to communicate. The production cost should be justified by a clear customer or operational need.
Stop using it when the real product has changed significantly, the model creates inaccurate expectations, or verified photography and final production assets have replaced its original purpose.
A 3D product visualization workflow should begin as a controlled experiment.
Choose one product, define one launch problem, create one approved model, and test whether it improves planning and content production. Validate every public-facing asset against the physical product before publication.
The value of 3D visualization is not simply that it creates more images. It gives ecommerce teams a way to make visual decisions earlier, while there is still time to improve the product launch.
h2>Frequently Asked Questions
A 3D concept can support early planning and some digital experiences, but it cannot fully replace product photography because renders still need to be validated against real materials, packaging, scale, and production quality. Use concept models to explore ideas and plan layouts, then rely on verified images once final samples are available.
A validated 3D model can be used on a Shopify product page if the file format, size, and theme support are correct and performance is acceptable on mobile. Shopify themes that support product media allow merchants to upload 3D models alongside images and video, which can give customers a better understanding of complex products when the visuals accurately reflect what will be shipped.
Not every SKU needs a 3D model; start with products where shape, configuration, or customization options are genuinely hard to communicate. Once a one‑SKU pilot shows clear planning and content benefits that justify the effort, you can decide whether to extend the workflow to adjacent products with similar complexity and margins.
Stop using a concept model when the real product has changed significantly, the visuals create inaccurate expectations, or final photography and production assets now serve the original purpose better. At that point, reclassify the model as internal reference only or retire it entirely to avoid confusion in future campaigns.
You do not need deep 3D expertise to start a pilot, especially if you use AI‑assisted tools that can generate base models from text or images, but someone must still own quality control and alignment with the physical product. Over time, basic skills in refining geometry, textures, and exports will help you move from quick concepts to production‑ready assets without relying entirely on external specialists.