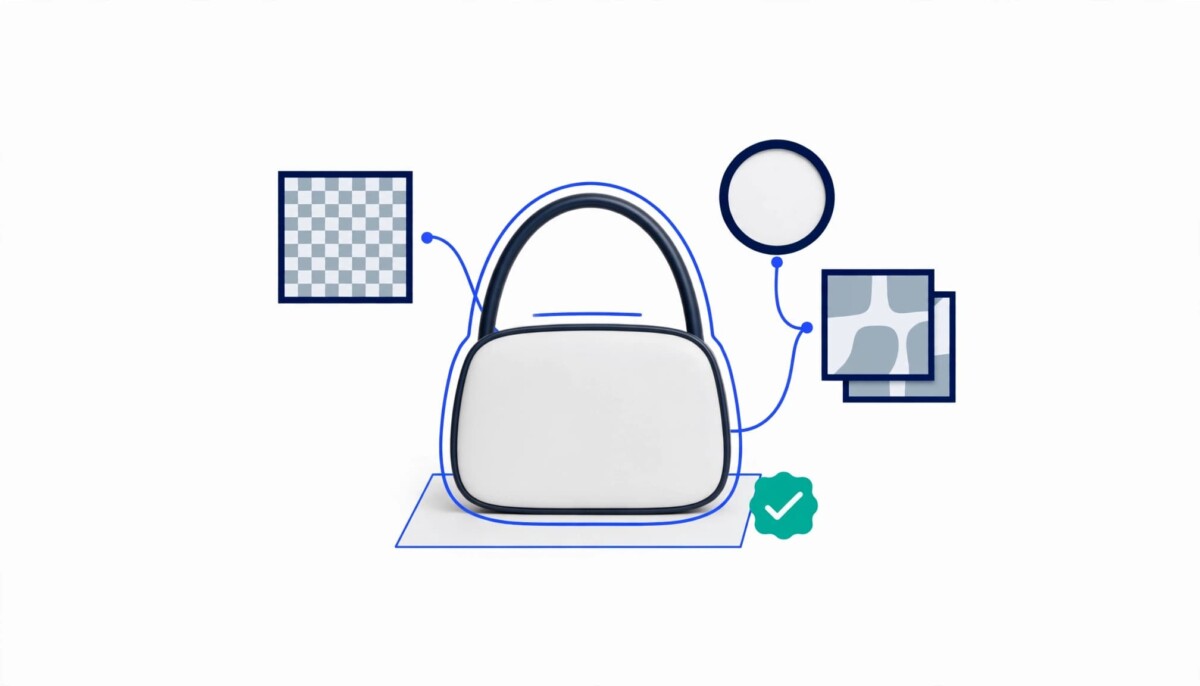
The cutout takes seconds. The check that catches a missing strap or a ragged edge takes a minute longer, and it decides whether the image looks professional.
A product photo taken at a kitchen table can sit comfortably next to a studio shot in your Shopify catalog, as long as the background behind it is gone. A free background remover handles the cutting in seconds, which leaves the part that actually protects your store: checking the result before shoppers see it.
How strict you need to be depends on your stage. If you are photographing your first ten products, the goal is a clean routine you can repeat. If you manage a catalog of several hundred, the goal is consistency, so every product page, ad and email pulls from the same set of cutouts. This guide covers both, and it starts after the shutter clicks; if you have not shot the originals yet, Fastlane’s complete guide to taking product photos covers natural and artificial light and camera settings.
Clean product photos matter because shoppers cannot pick up the product, so the image does the job of the shelf, and a cluttered or inconsistent background makes both the item and the store look less professional. Distracting objects, uneven lighting and a busy backdrop pull attention away from the features a customer is trying to judge.
Consistency matters even more as the catalog grows. Picture a store where every product sits on a different surface, in different light, at a different photo size. The collection page looks disordered and shoppers have a harder time comparing items. A clean background builds a recognizable visual style across product pages, and it makes the same photos easy to reuse in ads, emails, landing pages and social content.
The practical benefits show up in four places.
Marketplace requirements. Some online marketplaces ask for product images on a plain white background, so a clean cutout shortens the work of meeting their rules. Check each channel’s current requirements before you export, because they differ. Google Merchant Center, for example, does not require a white background but does ask for a clear view of the product, and it rules out borders, watermarks and promotional text added to the image.
Faster page design. A cutout drops straight into product pages, collection banners and promotional blocks. When you want a new layout, you rearrange files you already have instead of booking another photo session.
More effective advertising. Clean product images are easy to use in social ads, promo graphics and paid campaigns, and they make it simple to test different backgrounds, colors and creative ideas on the same product.
Seasonal campaigns. Events such as Black Friday and Cyber Monday (BFCM) demand a lot of marketing material in a short window. A stock of ready cutouts turns a seasonal banner into a layout job instead of a photo shoot.
Upload the product photo to an online AI background remover, let it separate the product from its surroundings, check the result, and download it as a transparent PNG or on a plain background. You do not need advanced editing skills or expensive desktop software, because the tool identifies the main subject and lifts it out for you.
Start with a sharp photo that shows the entire product with its main features visible. Pick an image where the product stands out clearly from what is behind it, because that gives the AI the easiest job. A dark bag on a dark bedspread is harder to separate than the same bag on a light sheet, so set up your surface with contrast in mind before you shoot.
PicCollage’s background remover page describes the tool as free with no account required, and it accepts JPEG, PNG, WEBP and HEIC uploads. The same page lists more than 280 million app downloads across iOS and Android, which tells you the company is established but says nothing about how the tool handles your particular products, so judge it on your own photos. The page does not state batch limits, so run a handful of images before you plan a full catalog.
The process is short: open the background remover page, upload your photo, wait while the tool detects the product, and review the result. When it finishes you can save the finished image for your store.
Never publish a cutout you have not inspected at full size. Automatic removal is convenient, but it can misjudge fine details, so zoom in on edges, straps, handles, decorative elements and any other small parts.
Some materials are harder than others. Glass, transparent plastic and thin textiles can look like the surroundings, which makes them difficult for automatic tools to understand. Confirm that no important part of the product has been removed and that no stray piece of the old background is still attached.
Choose a transparent background when the cutout will be reused in different designs, and a plain white or neutral background when the image is going straight into the catalog. Transparency lets you place the product on different colors, promotional graphics and branded layouts without editing the photo again. A plain white or neutral background suits simple catalog pictures.
PicCollage lets you save the isolated product with either a transparent or a plain background, so you do not need to repeat the whole edit each time you prepare images for a new use.
After checking the result, download the edited photograph and save it in an organized folder with a file name that identifies the product. A name like black-leather-handbag-front.png tells you the product, its color and the angle, while image001.png tells you nothing a month later. Choose PNG when you want to keep transparency; JPEG can work when the photo sits on a solid background. A tidy library saves time when a product specification changes or you build the next campaign.
A cutout check means zooming to full size on the parts of the product most likely to fail, then deciding to fix, redo or reshoot before the file goes near a product page. The walkthrough below is easier to follow on one concrete product.
Illustrative example, not a real store: a black leather handbag photographed on a dark bedspread and uploaded straight to a background remover. Here is what to look at, and why.
Start with the handle. The gap between the handle and the body of the bag is a classic failure point, because automatic tools often leave that space filled with the old background. If the handle looks glued to the bag, the cutout is not usable. Next, follow the strap edge and the metal hardware, where dark leather meets a dark surface and the outline gets soft. Finally, look at the base of the bag for leftover patches of bedspread.
The call: for a hero image, fix the handle gap and any soft edges before publishing, or retake the photo. For the rest of the catalog, change the setup instead of correcting every file by hand. Shooting the same bag on a light sheet gives the tool a sharper edge to follow, and that one change usually removes the problem from every later image. The call shifts with stage. A store with a handful of products can simply reshoot the weak ones. A store with a large catalog may accept the tool’s output for secondary images and reserve the careful check for the images that sit at the top of a product page.
Prepare cutout images for Shopify by choosing one background style, one aspect ratio and one file format for each use, then checking the result on your live theme. Uploading an edited image is not enough; its dimensions, format, composition and overall look all affect how the product page reads.
A transparent background gives you flexibility, but it is not the best choice for every product listing. A white background keeps attention on the product and works well for simple catalogs or stores with many categories. A light neutral color that complements your branding is another option. The rule is to avoid any background that competes with the product for attention.
If you use transparent PNG images, check how they look against your Shopify theme’s background. An image that looks right in an editing tool can appear different when displayed on your website.
Pick one aspect ratio and use it for your product images, because mixed shapes make a collection look uneven. Shopify’s product media guidance says product images display at different sizes side by side on collection pages, and that a consistent height to width ratio keeps featured images the same size. It also notes that 2048 by 2048 pixels usually displays best for square images, and that files can be up to 5000 by 5000 pixels and under 20 MB.
Square images work well for many products, but the best fit depends on your products and your theme. Leave enough space around the product so important points are not cropped, and avoid letting some products fill far more of the frame than others.
The file format you choose affects how your product photos look and how easily you can reuse them. Shopify names PNG as the best choice for most product images, followed by JPEG, and it accepts other types such as WebP.
A practical setup is to keep a transparent PNG of every product as the master, then export the catalog versions you need from it. That way a rebrand or a new layout never forces you to start from the original photo again.
The three mistakes that most often spoil a cutout are removing part of the product, leaving fragments of the old background, and using a different background style on each product page. Background removal technology has simplified image editing, but each of these still catches sellers out.
Removing part of the actual product happens when the software fails to tell the product from its surroundings. Thin edges and small details are the usual victims, so always inspect the final image around them before you download it.
Leaving visible traces of the original background is the second problem. Small fragments around the product make an image look unfinished, and they are easy to miss at thumbnail size. Check the edges at full size every time.
Mixing backgrounds across the catalog is the third. Experimenting with different designs can be useful in advertisements, but product listings usually need a consistent visual pattern. Decide on your catalog background once and apply it everywhere.
If you also run the photo through AI enhancement, Fastlane’s guide to AI photo enhancement for Shopify product images explains why color, texture and label text must still match the physical item after any edit.
A browser based remover suits stores that need clean cutouts quickly and have no editing skills, while tools inside the Shopify admin, desktop editing software or a retoucher suit stores where volume or edge quality is the real bottleneck. The right choice depends on how many images you handle and how difficult your products are.
Choose a browser based remover if you are testing products, working with a small catalog or running campaigns that need a quick set of cutouts, and you are happy to check each result yourself. Choose the editor inside your Shopify admin if you want to stay in one place; Fastlane’s guide to every AI tool inside the Shopify admin covers Shopify Magic’s background removal and replacement. Choose desktop editing software or a retoucher if your products have glass, fine chains or transparent packaging that automatic tools struggle with, or if every hero image has to be perfect.
Whichever route you take, the cutouts become a reusable asset. Once you have a clean one, Fastlane’s supplier photo to product listing workflow shows how a single clean image can seed lifestyle, feature and detail visuals for the same product.
The most reliable way to get professional looking product photos without a studio is a routine you can repeat: shoot in good natural light, remove the background, check the result and file it where you can find it again. You do not need a photographer or a studio rental to get there, only a simple setup, a careful eye and a tool that does the cutting.
Browser tools such as PicCollage’s make the middle steps available to people with no design background. When you have good cutouts on hand, you can use them again and again across product pages, ads, emails and promotional campaigns, and that reuse is where the time you spent on the check pays for itself.
Upload the photo to a free online background remover, wait for the AI to detect the product, check the edges, and download the result. Choose a sharp photo that shows the whole product with clear contrast against its surroundings, because that gives the tool the easiest job. Inspect straps, handles and other thin parts at full size before you download, and save a transparent PNG if you plan to reuse the image on different backgrounds. PicCollage’s background remover page, for example, says the tool is free and needs no account. Because that page does not mention batch limits, test a few images before you plan a full catalog.
Use a white or light neutral background for the product images shoppers see in your catalog, and keep a transparent version as your master file. A transparent PNG lets you place the product on any color, banner or ad, but it can look different on your live theme than it did in the editor. A plain white or neutral background keeps attention on the product and suits simple catalogs with many categories. Whichever you pick, apply it to every product page so the collection looks even, and check each marketplace’s rules separately, because some ask for a plain white background on the main image.
Save cutouts as PNG when you need transparency and as JPEG when the image sits on a solid background. Shopify’s help page names PNG as the best choice for most product images, followed by JPEG, and it also accepts formats such as WebP. WebP can give good quality at a smaller file size, which helps when you are managing page weight. Keep a transparent PNG as your master so you can export white background versions later without editing the photo again. Whatever you choose, use the same format for the same purpose across the catalog and name each file after the product, color and angle.
A background remover cuts off parts of a product when the product and its surroundings look too similar for the AI to separate them. Glass, transparent plastic, thin fabric, fine straps and handles are the usual casualties because they blend with what is behind them. Reshoot against a plain backdrop that contrasts with the product, improve the light, and inspect every cutout at full size before you download it. If an important part is still missing, retake the photo rather than correcting every image by hand, and consider desktop editing software or a retoucher for the products that automatic tools keep getting wrong.
You do not need a studio to take product photos for a Shopify store, but you do need good light and a repeatable setup. Natural light, a simple surface and a tool that removes the background can produce clean, consistent images without renting space or hiring a photographer. Consistency matters more than perfection: use the same angle, the same spacing around the product and the same background style across the catalog. A studio still makes sense for hero images of complex products, but a home setup plus a careful cutout check works well while you are still testing what sells.